Shower Installation, Repair & Diagnosis in Southampton
At Handyman Southampton, we provide professional and reliable shower installation, diagnosis, and repair services throughout Southampton and the surrounding areas. A fully functioning shower is essential for comfort and convenience in any home, and our team of skilled handymen are here to make sure yours works perfectly.
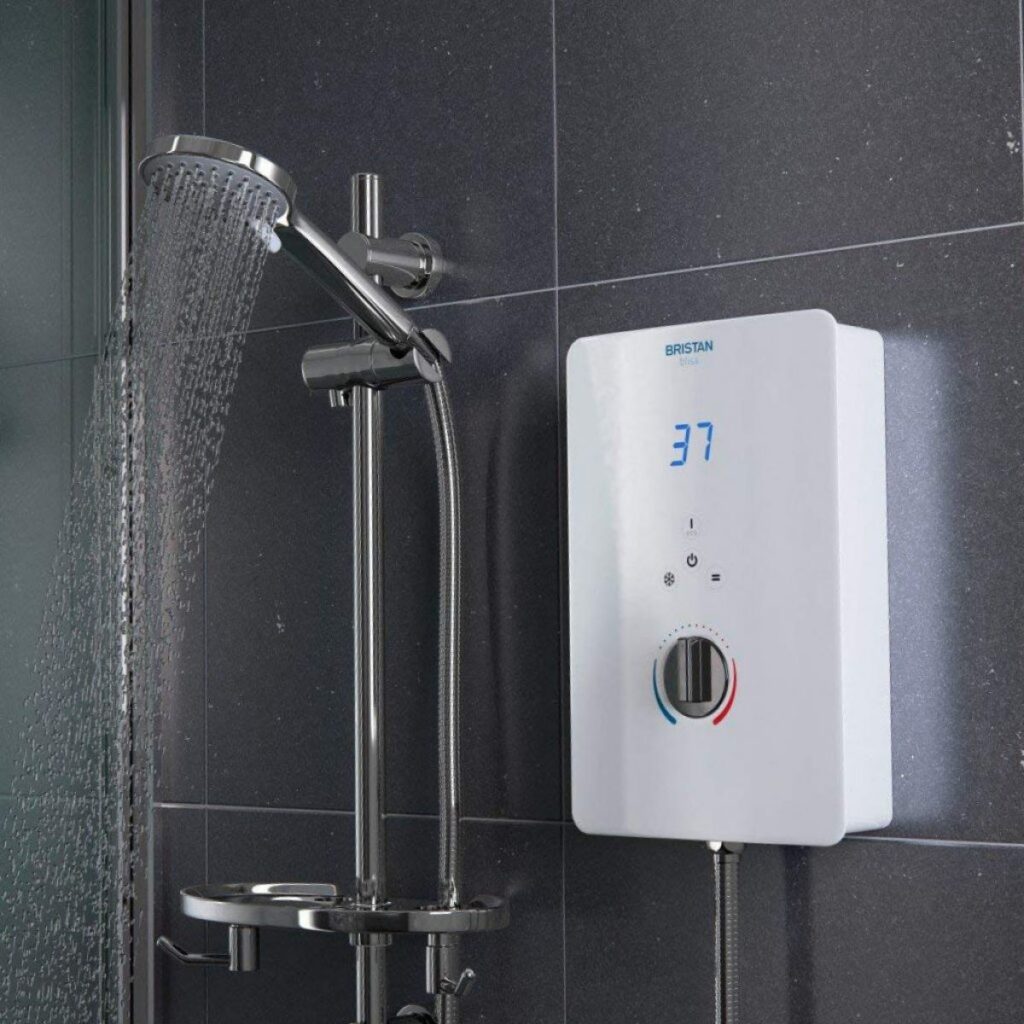
Whether you are upgrading your bathroom with a brand-new shower unit or need urgent repairs for a faulty system, we can help. Our experts work with all types of showers including electric showers, mixer showers, thermostatic showers, and power showers, ensuring your installation is completed safely, efficiently, and in line with UK regulations.
If your current shower is not performing as it should, our diagnosis and fault-finding service is the solution. We carefully inspect the unit, water supply, electrical connections, and drainage system to identify the cause of the problem. From low water pressure and inconsistent temperature control to leaks and electrical faults, our team can fix shower issues quickly and effectively.
In addition to installations and repairs, we also provide shower replacement and relocation services. If you are renovating your bathroom and want your shower moved to a new position, we handle the plumbing, tiling, and finishing with care and precision. We also dispose of old or broken units responsibly.
Our services cover Southampton and nearby areas including Totton, Eastleigh, Chandler’s Ford, Romsey, and the New Forest. We pride ourselves on offering transparent pricing, quality workmanship, and excellent customer service. Every job is carried out with safety as the top priority, ensuring your shower system is long-lasting and reliable.
By choosing Handyman Southampton, you benefit from local expertise, flexible booking options, and a trustworthy team committed to keeping your home in perfect condition. Whether it’s a brand-new shower installation, a small leak that needs fixing, or a complete system upgrade, we’re here to help.
For professional shower services in Southampton, contact Handyman Southampton today and enjoy a hassle-free, reliable solution for all your bathroom needs.